
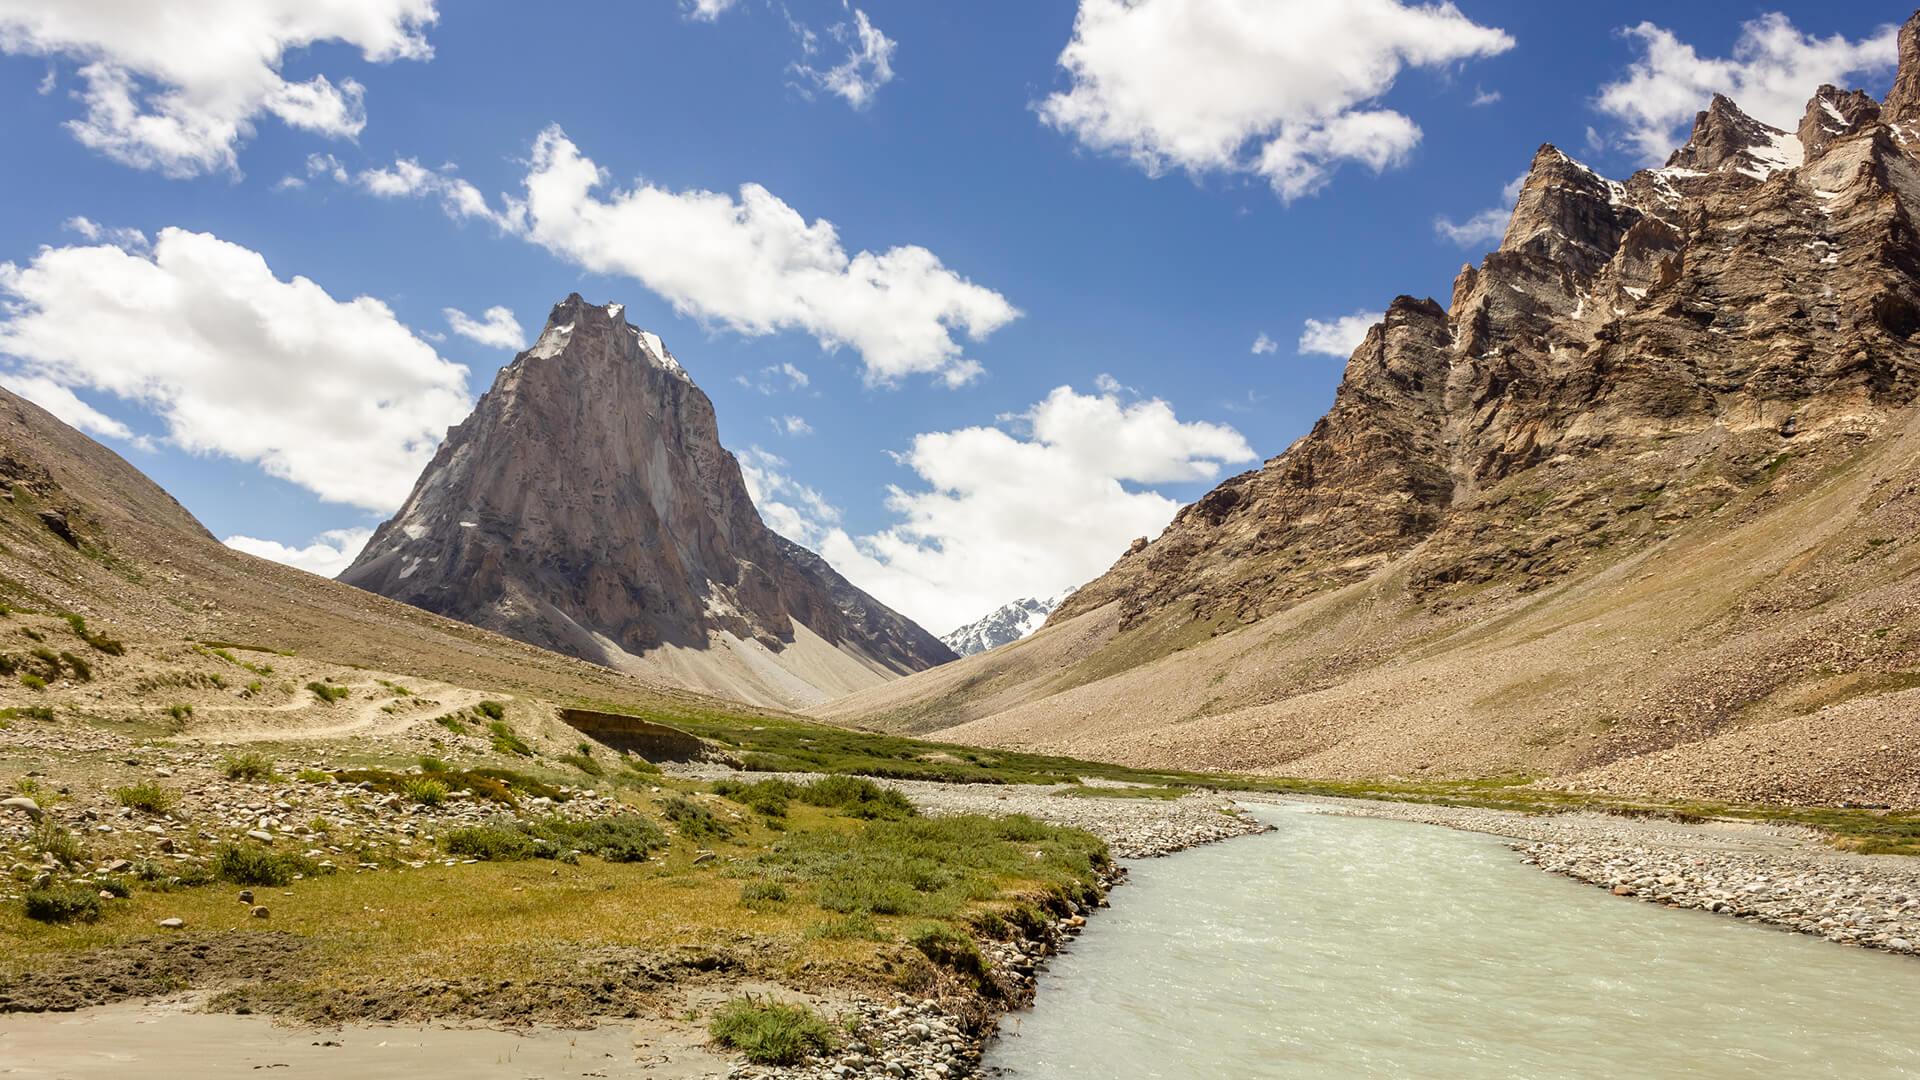
Why Padum to Darcha Trek is on every trekker's list
Few treks in the Indian Himalayas can match the sheer remoteness and raw grandeur of the Padum to Darcha trek. Connecting the ancient capital of Zanskar Valley in Ladakh with the roadhead village of Darcha in Lahaul, Himachal Pradesh, this route has served as a high-altitude trade corridor for centuries. Today it remains one of the least-crowded serious treks in India — a true wilderness experience for those willing to earn it.
The trail covers approximately 115–120 km over 8–9 trekking days (plus 1–2 days for acclimatisation), rising to its highest point at Shingo La pass (~5,060 m / ~16,600 ft). Every step beyond Padum takes you deeper into a landscape where mobile networks disappear, villages are separated by days of walking, and the silence is broken only by wind and the rush of the Zanskar River tributaries.
Whether you are an experienced Himalayan trekker looking for your next serious objective, or a planner doing careful research before committing, this complete 2026 guide covers everything: route, itinerary, permits, costs, best season, packing, and safety.
In an era when popular routes like the Markha Valley trek fill up with dozens of groups through peak season, the Padum to Darcha route remains refreshingly quiet. Here is why it deserves a spot on your trekking radar:
Unmatched Remoteness: From roughly Day 2 onwards, you are in genuine wilderness. There are no tea shops mid-route, no phone signal, and no road access until Darcha. This is the Himalaya on its own terms.
Shingo La Pass — the Crown Jewel: Crossing Shingo La (~5,060 m) is the physical and psychological centrepiece of the trek. The views from the pass — spanning Zanskar peaks to the north and the Lahaul ranges to the south — are extraordinary.
An Ancient Trade Route: Long before roads arrived in Ladakh, Zanskar's communities traded wool, salt, and goods along this corridor. Walking it connects you to centuries of Himalayan history.
Buddhist Village Culture: Villages like Reru, Kargyak, and Lakong are living examples of Zanskari Buddhist culture — whitewashed chortens, prayer flags strung across ridgelines, and communities that have changed little in centuries.
Lower Trekker Density: Compared to the Markha Valley or Stok Kangri base camps, you may go entire days without seeing another trekking group. For those who value solitude, this is priceless.
True Sense of Achievement: This is not a casual trail. Completing Padum to Darcha earns its place in your trekking story.
At a glance
Ask TrekSage about Padum to Darcha Trek
Get instant answers grounded in verified trek data — beginner-friendliness, best months, permits, packing, and more.
The route at a glance
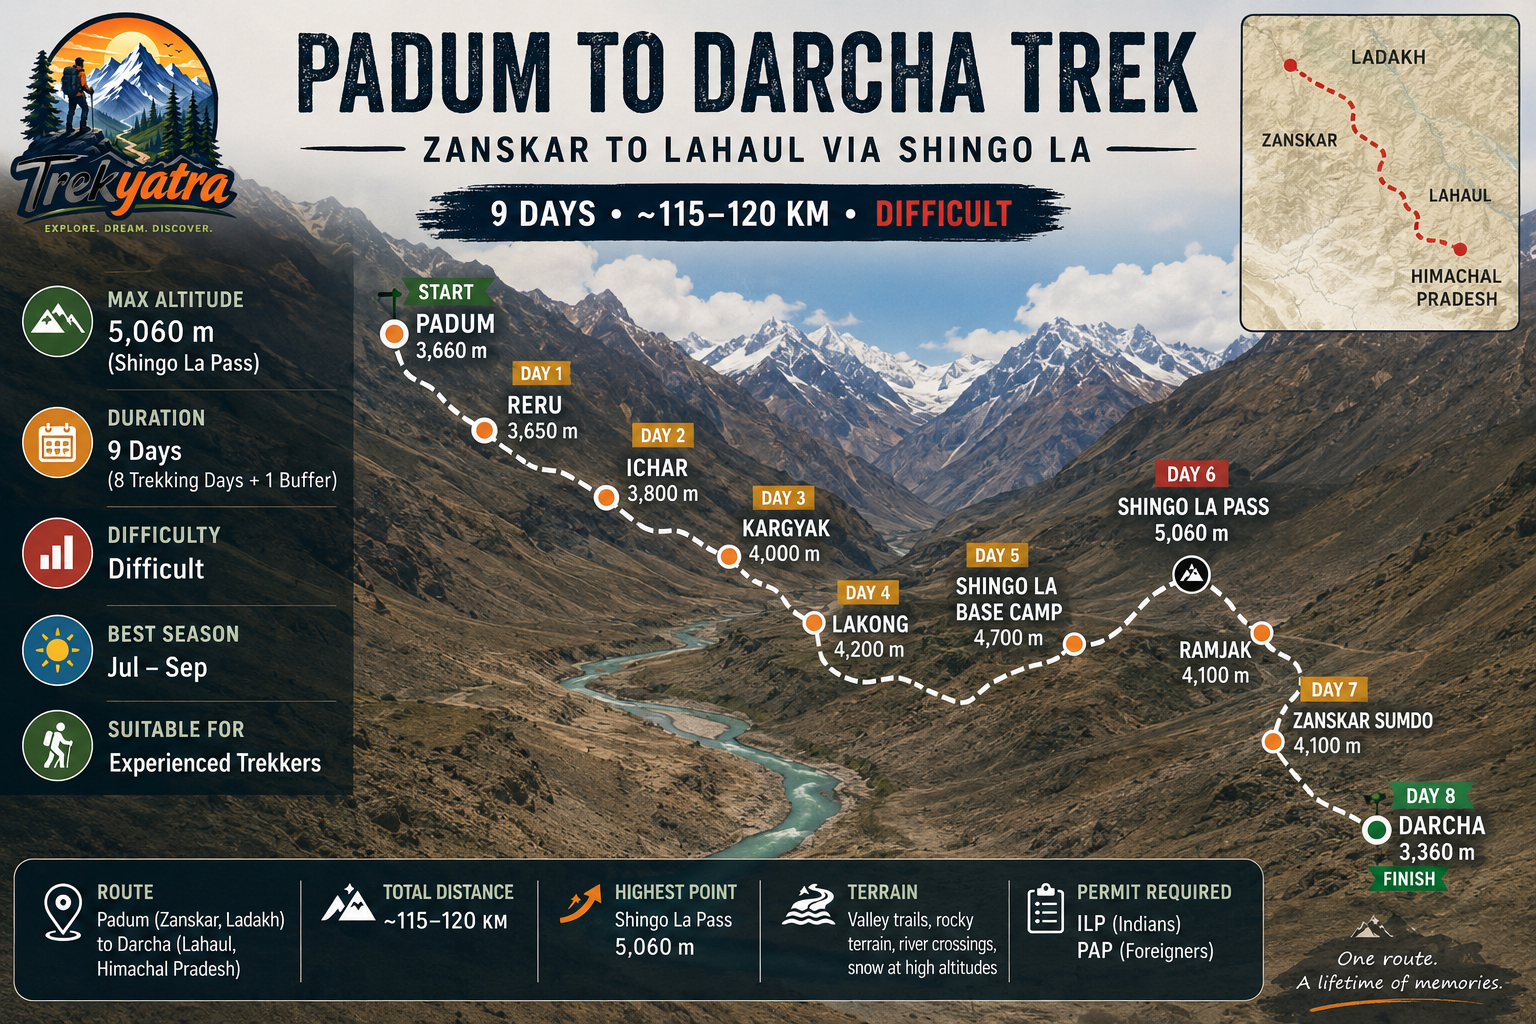
The Padum to Darcha trek runs broadly south-east from Padum (Zanskar, Ladakh) to Darcha (Lahaul, Himachal Pradesh), crossing the Great Himalayan Range at Shingo La.
Total distance: ~115–120 km
Maximum altitude: Shingo La pass, ~5,060 m
Starting altitude: Padum, ~3,660 m
Finishing altitude: Darcha, ~3,360 m
Key Waypoints
| Stage | Location | Approx. Altitude |
|---|---|---|
| Start | Padum | ~3,660 m |
| Day 1 | Reru | ~3,650 m |
| Day 2 | Ichar | ~3,800 m |
| Day 3 | Kargyak | ~4,000 m |
| Day 4 | Lakong | ~4,200 m |
| Day 5 | Shingo La Base Camp | ~4,700 m |
| Day 6 | Ramjak (via Shingo La) | ~4,100 m |
| Day 7 | Zanskar Sumdo | ~4,100 m |
| Day 8 | Darcha | ~3,360 m |
Elevation Profile Notes
The trail climbs gradually through the Zanskar River valley, gaining altitude steadily from Padum. The most dramatic ascent comes on Day 5–6, gaining roughly 1,000 m from Lakong to Shingo La. The descent into Lahaul (Himachal Pradesh) is steep and loose in sections. River crossings — particularly of tributaries of the Zanskar River — can be significant in June–July when snowmelt is high.
Reverse direction (Darcha to Padum): Equally feasible and popular. Starting from Darcha means a steep early climb to Shingo La, but some trekkers prefer arriving in the culturally rich Zanskar villages as a finale. See our Shingo La pass guide for more on crossing from either direction.
Getting to Padum (Trek Start)
Step 1 — Fly to Leh: Leh Kushok Bakula Rimpochee Airport receives direct flights from Delhi, Mumbai, and other major Indian cities. Flights book up fast for summer 2026 — reserve early.
Step 2 — Acclimatise in Leh (2 days minimum): Do not skip this. Leh sits at ~3,500 m and arriving from sea level without rest invites AMS. Rest, hydrate, and avoid strenuous activity for at least 48 hours. See our Leh Ladakh travel guide for what to do during acclimatisation days.
Step 3 — Leh to Padum:
- Shared jeep / bus via Kargil: The standard route takes 2 days — overnight in Kargil, then onward to Padum the next day. Total road time roughly 14–18 hours.
- Direct shared jeep (Leh–Padum): Some operators run a long single-day transfer (~14–16 hours, highly tiring). Cost: approximately INR 1,500–2,500 per seat in a shared jeep.
- Road opening: The Zanskar road typically opens in late May to June and can close earlier than expected in October with snowfall.
Getting from Darcha to Manali (Trek End)
Darcha to Manali: Shared jeeps and government buses run from Darcha along the Manali–Leh highway. With the Atal Tunnel (Rohtang Tunnel) now operational, the journey to Manali takes approximately 5–6 hours regardless of Rohtang Pass conditions. Cost: approximately INR 400–800 per seat in a shared vehicle.
From Manali, onward connections by bus or taxi to Delhi, Chandigarh, and other cities are plentiful. See our Darcha to Manali travel guide for full logistics.
Note: The Manali–Leh highway typically opens in late May (weather-dependent). Always confirm road status before finalising travel dates.
What each day actually looks like
Note: This is a standard 9-day itinerary including a buffer day. Distances and altitudes are approximate and should be verified with a local guide before departure.
Day 1: Padum to Reru (~14 km | Camp: ~3,650 m)
Leave Padum — the administrative centre of Zanskar — heading south along the valley floor. The trail is well-defined, passing small villages and cultivated fields before reaching the quiet settlement of Reru. This is a warm-up day; legs and lungs should adjust to the altitude. Camp near the village.
Terrain: Mostly flat to gently undulating valley trail. One river crossing possible depending on season.
Day 2: Reru to Ichar (~12 km | Camp: ~3,800 m)
The trail continues up the valley, climbing gently. Ichar is a small cluster of stone houses; camping is on flat ground near the village. Altitude gain is modest, making this another good acclimatisation day.
Terrain: Valley trail with rocky sections, stream crossings.
Day 3: Ichar to Kargyak (~14 km | Camp: ~4,000 m)
Kargyak is one of the highest permanently inhabited villages in Zanskar and a significant milestone on the trek. The famous Kargyak River valley opens up here. Look for chortens and mani walls marking the approach. This is the last village with a reasonable chance of resupply (basic items only — do not depend on it).
Terrain: Gradual ascent, good trail, beautiful river valley scenery.
Day 4: Kargyak to Lakong (~12 km | Camp: ~4,200 m)
Beyond Kargyak the valley narrows and the landscape becomes increasingly alpine. Lakong is a small seasonal settlement used by shepherds. Camping here is excellent, with views of surrounding peaks. You are now firmly above 4,000 m — monitor yourself and your group for AMS symptoms.
Terrain: Rocky, some bouldering, river crossings. Trail less defined in sections.
Day 5: Lakong to Shingo La Base Camp (~10 km | Camp: ~4,700 m)
A shorter distance day that is critically important for acclimatisation before the pass crossing. The trail climbs steeply out of the valley towards the Shingo La base camp area. Arrive early, rest well, drink plenty of water, and prepare gear for the pre-dawn start tomorrow.
Terrain: Steep ascent on rocky moraine, possible snow patches from July onwards.
Day 6: Shingo La Base Camp to Ramjak via Shingo La (~12 km | Pass: ~5,060 m | Camp: ~4,100 m)
The most demanding day of the trek. Start by 4:00–5:00 am to cross Shingo La (~5,060 m) before afternoon weather deteriorates and snow softens. The ascent to the pass involves steep snow and scree; crampons or microspikes are strongly advisable. From the top, panoramic views span the Zanskar and Lahaul ranges. The descent into Lahaul (Himachal Pradesh) is long and steep — knees will feel it. Ramjak is a flat camping area on the Lahaul side.
Terrain: Snow/ice on ascent to pass, steep scree descent, stream crossings below.
Day 7: Ramjak to Zanskar Sumdo (~14 km | Camp: ~4,100 m)
Now firmly on the Lahaul side, the trail descends along a river valley towards Zanskar Sumdo — the confluence point of the Zanskar stream with the main Bhaga River drainage. The walking is long but the altitude is decreasing, which most trekkers find mentally easier.
Terrain: Moderate descent, rocky valley trail, river crossings.
Day 8: Zanskar Sumdo to Darcha (~16 km | Finish: ~3,360 m)
The final push. The trail follows the river valley down to Darcha, the roadhead village on the Manali–Leh highway. The sight of vehicles on the road is simultaneously jarring and triumphant. The longest distance day, but mostly downhill. Celebrate accordingly.
Terrain: Long descent on clear trail, some flat sections near Darcha.
Day 9: Buffer / Acclimatisation Day
Build this day into your schedule as a mandatory buffer. Use it in Lakong or at Shingo La base if you need extra rest, or deploy it at the Darcha end if weather or conditions delay Day 6's pass crossing. Do not plan onward transport from Darcha without a buffer.
When to go
June – Early July (Early Season)
Shingo La typically retains significant snow cover until mid-July. River crossings — fed by snowmelt — are at their highest and most dangerous. Experienced trekkers with snow/ice skills can attempt this window, but it is not recommended for most.
Mid-July – Mid-September ✅ Ideal Window
This is the sweet spot. Snow on Shingo La is manageable (often passable without crampons by late July, though carry them regardless), river levels are lower, skies are generally clear, and temperatures at high camp are cold but not extreme. August is the most popular month. Expect occasional afternoon thunderstorms — always camp before 3:00 pm.
October (Post-Monsoon)
Early October can offer stunning clarity and empty trails, but Shingo La is at serious risk of early snowfall closing the pass unpredictably. Do not attempt after mid-October without current local intelligence. Temperatures at 4,700 m camp will drop well below -10°C at night.
Winter (November–May)
Shingo La is closed. Route is not recommended. Winter crossings of frozen Zanskar rivers (Chadar-style) do not apply to this trail.
Recommended window: Mid-July to mid-September 2026.
Is this trek right for you?
Rating: Difficult
This is not a route for casual hikers or first-time Himalayan trekkers. Here is why:
- Daily distances of 10–16 km on rocky, uneven terrain over 8+ days with a loaded pack
- Maximum altitude of ~5,060 m at Shingo La — well into AMS risk territory
- River crossings that can be waist-deep and fast-flowing in early season
- No rescue infrastructure in the mid-section between Kargyak and Ramjak — helicopter evacuation is the only option in a medical emergency (weather-dependent and expensive)
- No mobile network for the majority of the route
- Sustained effort at altitude over multiple consecutive days
Training Recommendations (Begin 8 Weeks Prior)
- Cardiovascular base: Running 5+ km three times per week; cycling or swimming
- Load-bearing hikes: Weekend hikes of 15–20 km with a 10–12 kg pack
- Altitude preparation: If possible, one prior trek above 4,000 m in the year before
- Breathing and core: Yoga, pranayama breathing exercises, and core strength work
- Minimum fitness baseline: Ability to walk 15 km/day for 5 consecutive days without significant fatigue at sea level
Prior Himalayan trekking experience above 4,000 m is strongly advised. See our high-altitude trekking tips for detailed preparation guidance.
What permits you need
Permit requirements as of the 2026 trekking season.
Inner Line Permit (ILP) — Indian Nationals
Zanskar falls under the restricted zone requiring an Inner Line Permit (ILP) for all non-Ladakhi Indian nationals. This is a mandatory document.
- Cost: Approximately INR 400–500 per person
- Where to obtain: DC Office, Leh; online via the official Ladakh government e-Permit portal; or through a registered trekking agency in Leh or Padum
- What to carry: ILP printout, government-issued photo ID (Aadhaar/passport), 2–3 passport-size photographs
Protected Area Permit (PAP) — Foreign Nationals
Foreign nationals require a Protected Area Permit (PAP) in addition to a valid Indian visa.
- Cost: Approximately USD 50 per person per week
- Where to obtain: Foreigners Regional Registration Office (FRRO), Leh; DC Office Leh; registered trekking agencies can facilitate
- Note: PAP applications typically require booking through a registered Indian trekking agency
Himachal Pradesh / Darcha End
There is no significant additional permit required on the Darcha (Himachal Pradesh) side for most trekkers completing this route, but carry your ILP/PAP documents as checkpoints may exist. Verify with your agency or the HP Forest Department before travel, as regulations can change.
What this trek will cost you
All costs in INR, estimated for the 2026 season. Figures are indicative — confirm with providers before booking.
DIY Trekking Costs (Per Person)
| Item | Estimated Cost (INR) |
|---|---|
| ILP / Permits | ~500 |
| Transport: Leh to Padum (shared jeep) | ~1,500–2,500 |
| Local guide (800–1,200/day × 9 days) | ~7,200–10,800 |
| Horseman/porter (700–1,000/day × 9 days) | ~6,300–9,000 |
| Food & camping supplies (~600–800/day) | ~5,400–7,200 |
| Miscellaneous (fuel, emergency, etc.) | ~1,500–2,000 |
| Total DIY Estimate | ~22,400–32,000 |
Note: DIY costs assume you have your own tent, sleeping bag, and core gear. Horse hire is strongly recommended for the mid-section — there are no resupply points.
Guided Package Costs (All-Inclusive)
| Group Size | Estimated Package Cost Per Person |
|---|---|
| Solo / 1–2 pax | ~55,000–65,000 |
| Small group (3–6 pax) | ~38,000–50,000 |
| Larger group (7+ pax) | ~35,000–45,000 |
Guided packages typically include: permits, transport (Leh–Padum–Darcha), guide, cook, horsemen, camping equipment, and all meals on trek.
Finding guides in Padum: Local guides can be hired in Padum through guesthouses or the local market. Always verify credentials and agree on daily rates and responsibilities in writing before departing. Ensure your guide has Shingo La crossing experience.
What to pack
Shelter & Sleep
- High-altitude four-season tent (if DIY trekking)
- 4-season sleeping bag (rated to at least -15°C)
- Sleeping mat / inflatable pad
Trekking Gear
- Trekking poles (essential — river crossings and Shingo La descent)
- Crampons or microspikes (mandatory for Shingo La in most years)
- Gaiters (snow and scree)
- Trekking boots (waterproof, ankle support, broken in)
- Trekking sandals / camp shoes
- Headlamp + spare batteries
- Water purification tablets or filter (no safe drinking water en route)
- Trekking backpack (55–65 L for DIY; 30–40 L day pack if using horses)
Clothing (Layering System)
- Moisture-wicking base layer (top and bottom) × 2
- Insulating mid layer (fleece or down sweater)
- Down jacket (700-fill or above)
- Waterproof hardshell jacket and trousers
- Trekking trousers × 2
- Warm hat / balaclava
- Sun hat with brim
- Gloves (liner + outer waterproof)
- Merino wool or synthetic socks × 4–5 pairs
- Thermal underlayer for camp and pass day
Food & Nutrition
- High-calorie snacks: nuts, dried fruit, energy bars, dark chocolate
- Electrolyte sachets / sports drink powder
- Emergency rations (2-day minimum above Kargyak)
- Instant noodles / porridge for camp (if DIY)
Documents
- ILP / PAP (multiple printed copies)
- Government photo ID
- Trekking insurance documents (must include helicopter evacuation cover)
- Emergency contact card (laminated)
First Aid & Medical
- Diamox (Acetazolamide) — consult your doctor before the trek
- Blister kit (moleskin, needles, antiseptic)
- Ibuprofen / paracetamol
- Rehydration salts
- Antihistamine
- Personal prescription medicines
- Pulse oximeter (strongly recommended above 4,000 m)
Electronics
- Satellite communicator (e.g., Garmin inReach) — strongly recommended; no mobile network for most of the route
- Power bank (large capacity — no charging on route)
- Camera / spare batteries
- Downloaded offline maps (Maps.me or Gaia GPS)
Staying safe on the mountain
Acute Mountain Sickness (AMS)
AMS is the primary risk on this trek. Key rules:
- Ascend slowly — the itinerary above is designed to acclimatise gradually
- Know the symptoms: headache, nausea, dizziness, loss of appetite, disturbed sleep
- If symptoms worsen, descend immediately — do not sleep higher than you camped the previous night if experiencing symptoms
- Diamox (125–250 mg twice daily) can be used preventively — consult a doctor before the trek. Do not use Diamox to mask symptoms and push on
- A pulse oximeter is useful: SpO2 below 80% at altitude warrants serious attention
River Crossing Safety
- Cross early morning when snowmelt flow is lowest
- Unclip your hipbelt and sternum strap before entering water — if you fall, you need to ditch your pack
- Use trekking poles for stability, or link arms with a partner
- Never cross alone; if a crossing looks dangerous, wait or find an alternative
Weather Awareness
- Afternoon thunderstorms are common in August. Always be in camp or sheltered by 2:00–3:00 pm
- On Shingo La crossing day, a pre-dawn start (4:00–5:00 am) is standard practice to cross before weather builds
- Check weather forecasts in Padum before departing — the mid-section has no weather information
Emergency Evacuation
- There is no road access between Kargyak and Darcha
- Emergency evacuation is by helicopter only — expensive, weather-dependent, and not always possible quickly
- Ensure your travel insurance includes helicopter evacuation from remote Himalayan terrain — cheapest policies often do not
- Nearest hospitals: Padum District Hospital (Zanskar side); Keylong District Hospital (Lahaul side, accessible from Darcha)
Communication
- Mobile networks are absent for the majority of the route beyond Padum outskirts
- A satellite communicator (Garmin inReach or equivalent) is strongly advised — it can summon rescue and allows check-ins with emergency contacts
- Register your trek route with a contact who will raise the alarm if you do not report in
Wildlife
- The Zanskar region is snow leopard territory. While attacks on humans are extremely rare, be aware and do not leave food unattended at camp
Trekking with a registered, experienced local guide is strongly advised for this route.
Similar treks to explore
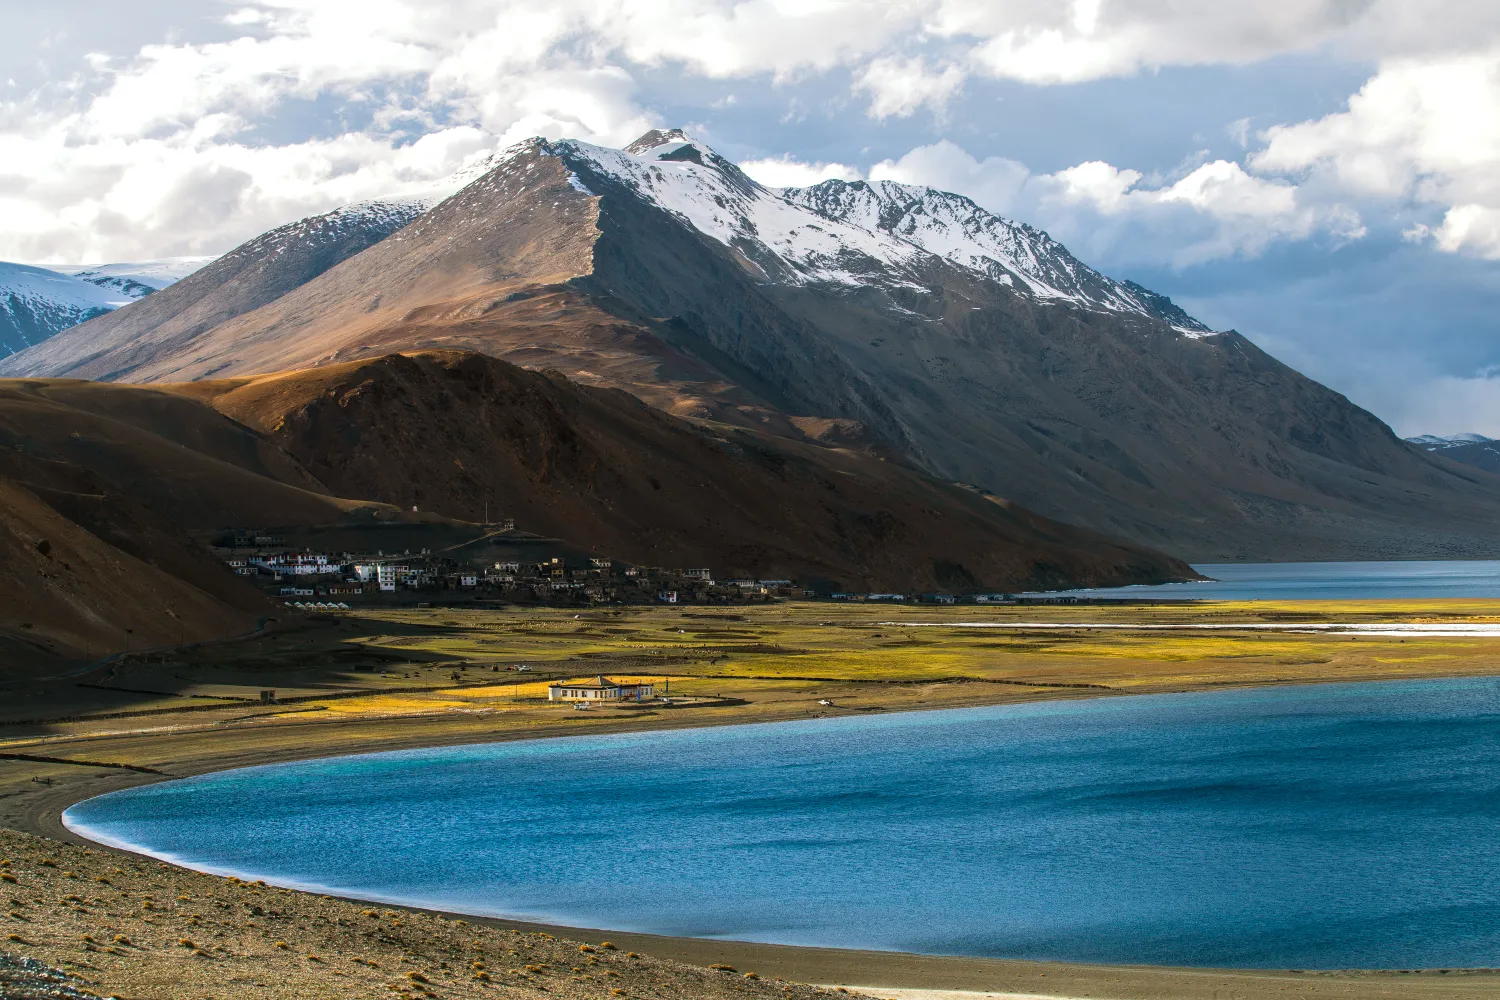
Rumtse to Tso Moriri Trek: Complete Ladakh Trail Guide
The Rumtse to Tso Moriri trek is an ~80 km, 7–8 day strenuous Ladakh trail crossing Kyamar La (~5,460 m) and Polokongka La (~5,190 m), ending at Tso Moriri Lake
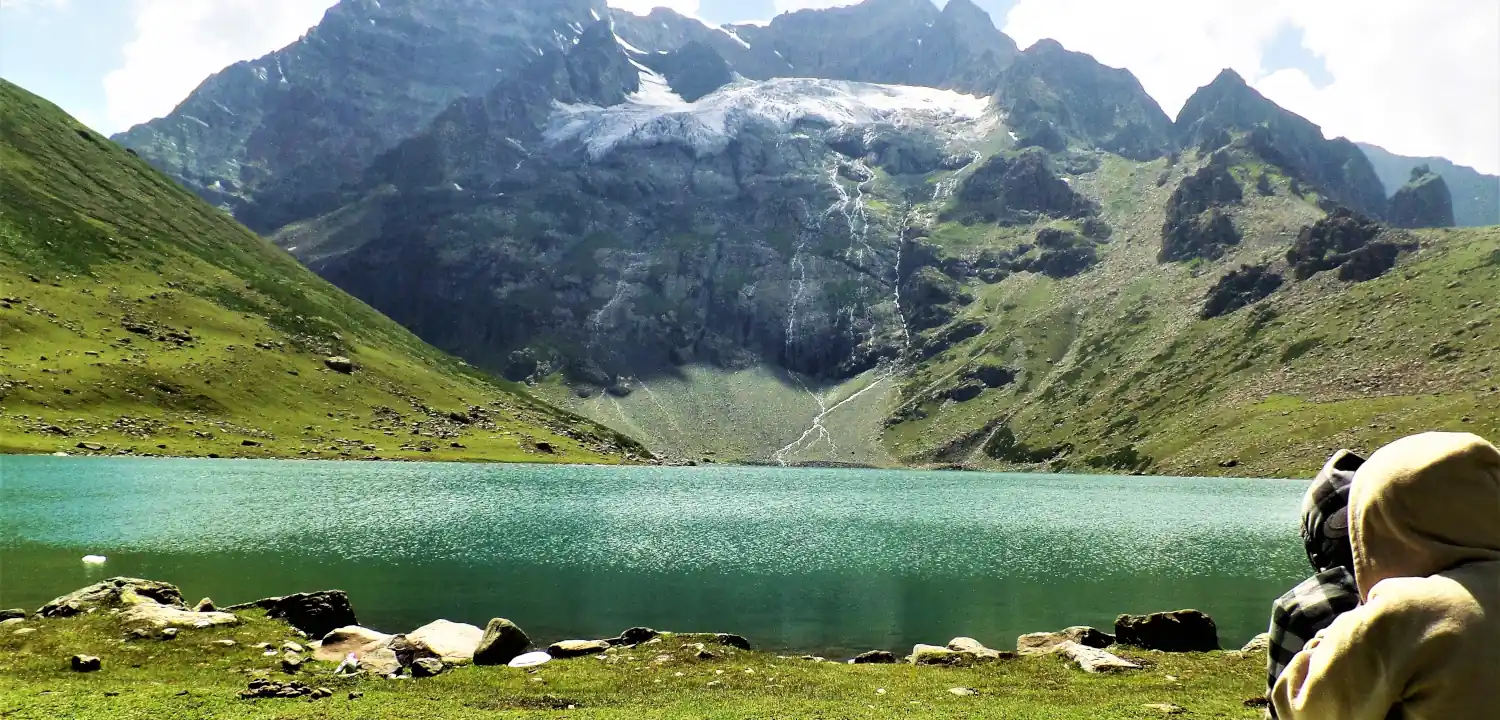
Naranag Gangabal Trek: Complete Guide (2026)
The Naranag Gangabal Trek is a 4–5 day moderate-difficult alpine trek in Kashmir, covering ~26–30 km from Naranag (2,150 m) to Gangabal Lake (3,570 m).
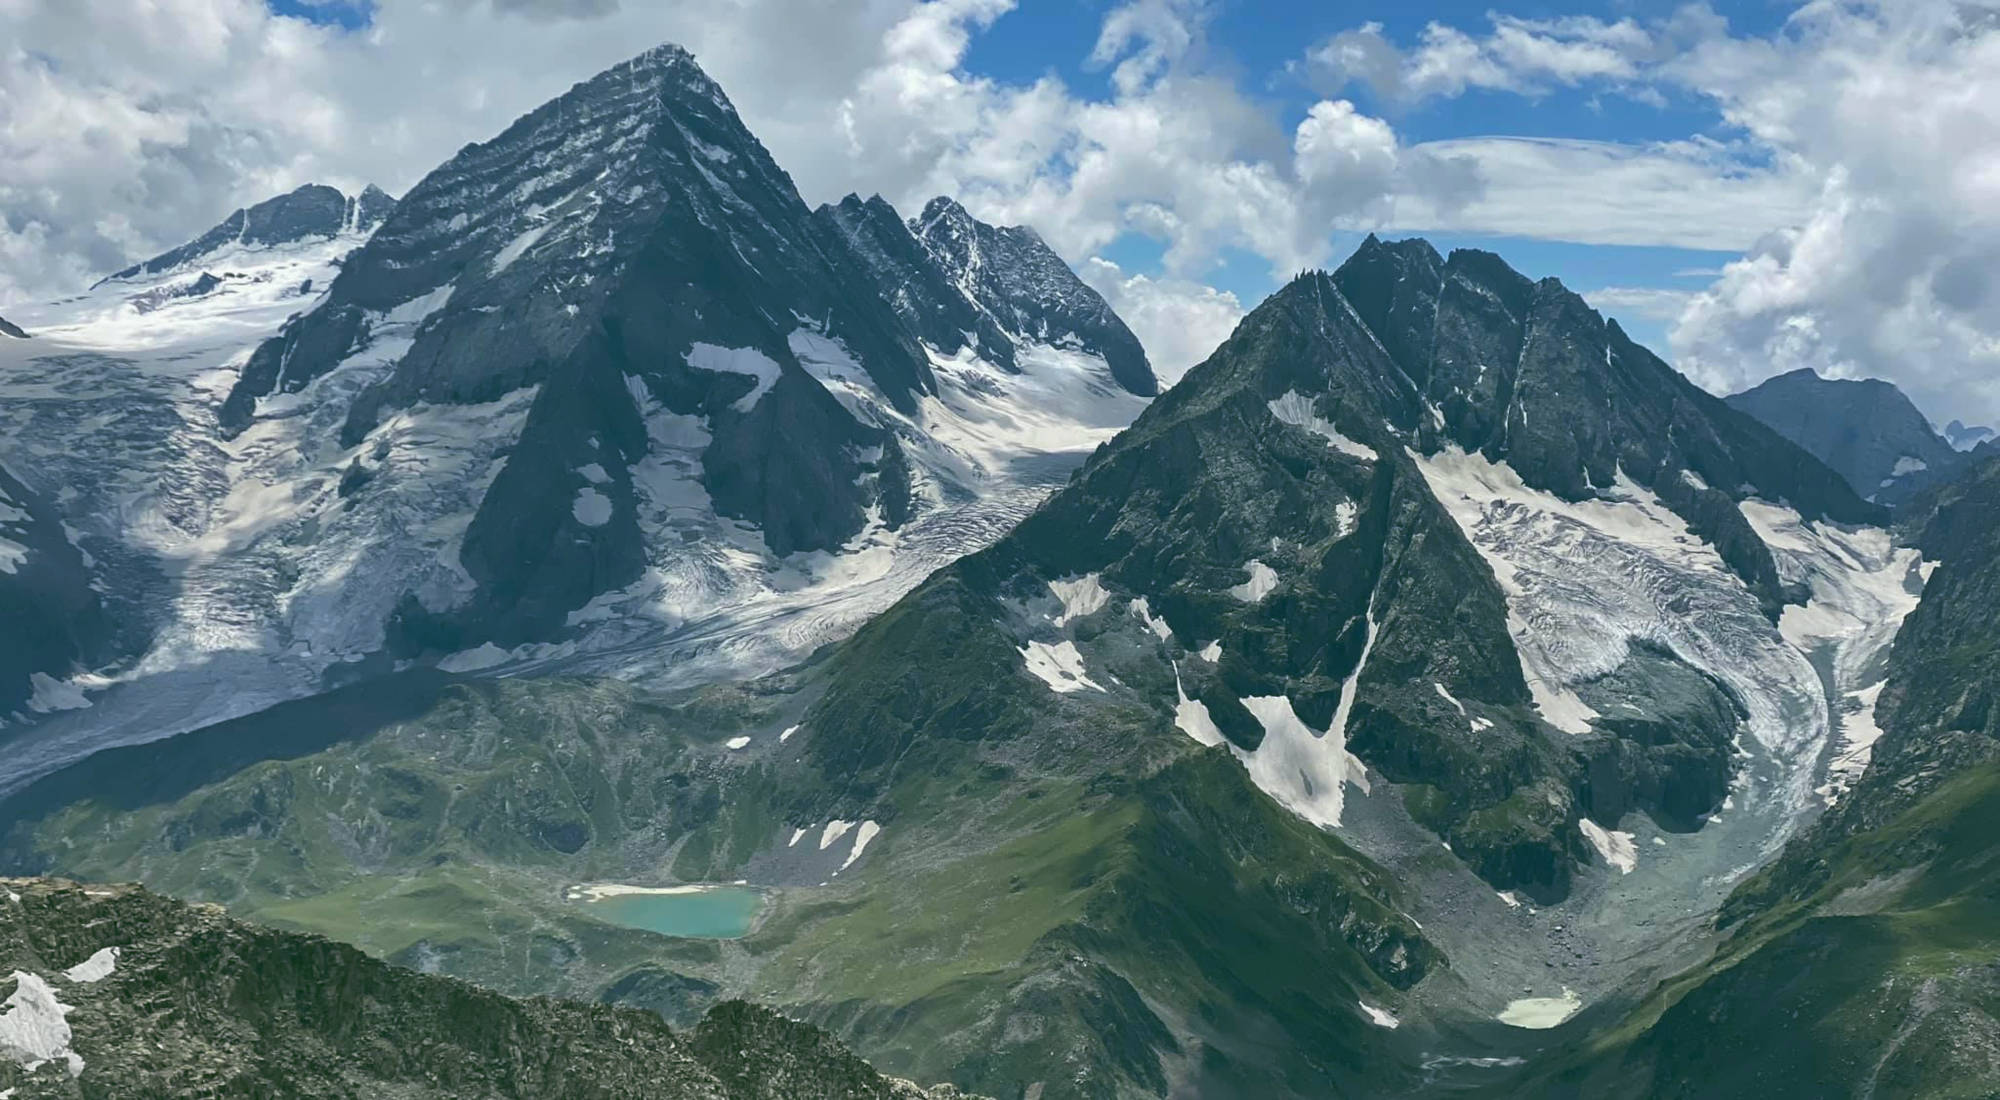
Kolahoi Glacier Trek: Complete Kashmir Guide 2026
The Kolahoi Glacier Trek is a moderate-to-challenging 6-day route from Aru Valley near Pahalgam to Kashmir's largest glacier at 4,100 m.
Common questions answered
The Padum to Darcha trek is rated Difficult. The key challenges are the Shingo La pass crossing at ~5,060 m, daily distances of 10–16 km on rocky, uneven terrain, significant river crossings (especially in early season), and a complete absence of rescue infrastructure in the mid-section between Kargyak and Darcha. If a medical emergency occurs here, helicopter evacuation is the only option — and it is weather-dependent. Prior high-altitude trekking experience (ideally above 4,000 m) is strongly recommended. Do not attempt this trek as your first Himalayan experience.
Live Conditions
Real-time weather & trail status
Trail Conditions
Crowdsourced reports from trekkers who've done this route
Sign in to add a trip report
Find a Trek Buddy
Connect with trekkers planning the same route
No buddies yet for this trek
Sign in and be the first to post a planning signal.